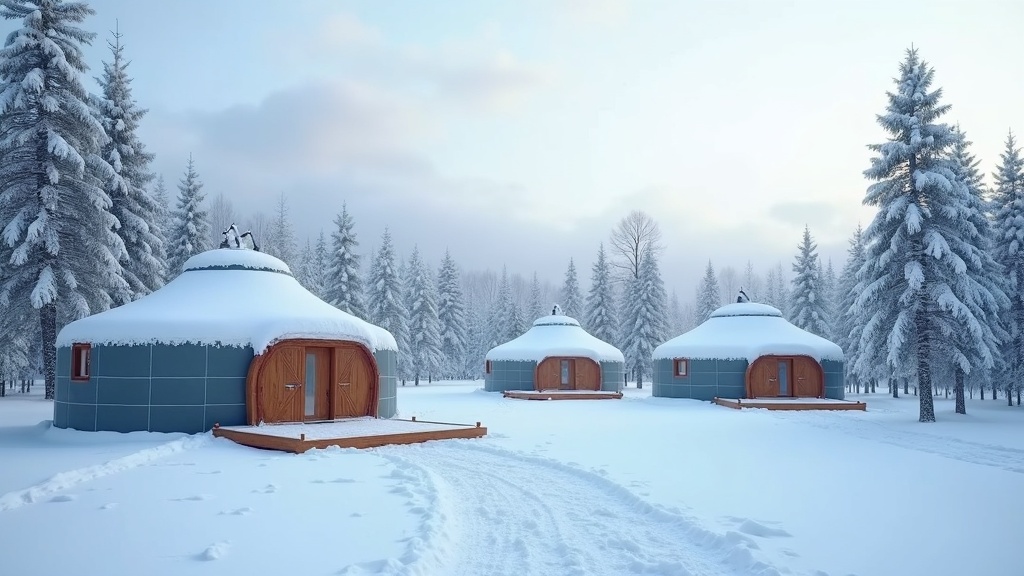
Learn how to prepare winterized yurts for cold-weather camping and full-time living. This guide covers insulation, heating, moisture control, and practical tips to keep a yurt warm and dry through the winter months, drawing on expert advice and real-world experience.
Table of Contents
- What Are Winterized Yurts?
- Insulation for Winter Yurts
- Heating and Moisture Control
- Site Selection and Setup
- Frequently Asked Questions
- Comparison: Yurt Winterization Approaches
- Practical Tips
- Final Thoughts on Winterized Yurts
Market Snapshot
- Yurts are available for rent across the United States and Canada, with an emphasis in the Pacific Northwest (Eagle Creek, 2024)[1].
- A yurt platform can be insulated with 5.5 inches of mineral wool insulation between 6-inch joists (That Yurt, 2024)[2].
- A yurt platform can be elevated 10-18 inches to help with airflow and moisture control (That Yurt, 2024)[2].
As winter approaches, many yurt owners and glamping enthusiasts begin thinking about how to keep their circular retreat warm and functional. The appeal of spending a snowy weekend in a cozy, heated yurt is strong, but it requires proper preparation. Whether you are planning a full-time residence or a seasonal rental, understanding the principles behind winterized yurts is essential. This guide will walk you through the core areas of insulation, heating, moisture management, and site selection, helping you create a comfortable winter environment.
What Are Winterized Yurts?
A winterized yurt is a yurt that has been modified to withstand cold temperatures, snow loads, and winter weather conditions. Unlike a standard three-season yurt, a winterized version includes additional insulation, a robust heating system, and measures to control condensation. The goal is to create a living space that is warm, dry, and safe, even when temperatures drop below freezing. As the Eagle Creek editorial team notes, ‘Yurts are well-suited for winter camping because they offer insulated walls, solid flooring, and heating, eliminating the need to pitch a tent’ (Eagle Creek, 2024)[1]. This makes them an excellent alternative to traditional winter camping, providing a solid structure that can be made very comfortable with the right upgrades.
The process of winterizing a yurt typically starts with the platform. A well-insulated floor is critical because a significant amount of heat can be lost through the ground. Many owners also focus on the wall and roof insulation, often using materials like reflective barriers, wool, or foam. The choice of heating source – whether a wood stove, propane heater, or electric heater – also plays a major role in the overall comfort and safety of the space. For those considering a yurt for full-time living, the investment in proper winterization is non-negotiable.
Insulation for Winter Yurts
Insulation is the single most important factor in creating a warm winter yurt. Without it, a yurt can lose heat rapidly, making it uncomfortable and expensive to heat. The approach to insulation varies depending on whether you are building a new yurt or retrofitting an existing one. For the platform, one effective method is to insulate between the floor joists. As described by That Yurt, a yurt platform can be insulated with 5.5 inches of mineral wool insulation between 6-inch joists (That Yurt, 2024)[2]. This is a common and effective technique for adding thermal resistance to the floor.
Another method for the platform involves using rigid foam insulation under the plywood subfloor. This approach, combined with a vapor barrier, can prevent moisture from seeping up from the ground. The same source recommends a vapor barrier system to avoid a moisture trap (That Yurt, 2024)[2]. For the walls and roof, many yurt manufacturers offer insulation packages. These often consist of a layer of reflective insulation or a thick, quilted batting that fits between the lattice wall and the canvas cover. If you are living in your yurt full-time, adding an insulation package is highly recommended. As one long-term yurt dweller put it, ‘If you’re living in your yurt full-time, I can’t think of a reason not to get the insulation package’ (That Yurt, 2024)[2].
Heating and Moisture Control
Keeping a yurt warm in winter is only half the battle; managing moisture is equally important. A heated yurt can become very humid from cooking, breathing, and melting snow, leading to condensation on the canvas or walls. This can cause mold, mildew, and structural damage if not addressed. The most popular heating source for winterized yurts is a wood stove. It provides dry, radiant heat that is very effective at warming the space and also helps to ventilate the yurt by drawing air out through the chimney. This natural air exchange reduces humidity levels.
For those who prefer a less hands-on approach, propane or electric heaters can be used, though they require careful management of ventilation. Propane heaters produce moisture, which can exacerbate condensation issues. Electric heaters are dry but can be expensive to run and may not be sufficient in extreme cold without a robust power supply. Regardless of the heat source, it is crucial to have a strategy for moisture control. This can include using a dehumidifier, ensuring adequate ventilation by cracking a window or roof dome, and using a vapor barrier on the floor and walls.
The yurt’s elevation also plays a role in moisture management. A platform elevated 10-18 inches helps with airflow and moisture control under the structure (That Yurt, 2024)[2]. This prevents ground moisture from wicking up into the yurt and allows air to circulate, keeping the underside dry. For those in very cold, low-snow environments, haybales may be used around the base of a yurt to block cold air from getting underneath (That Yurt, 2024)[2], though this should be done carefully to avoid creating a habitat for pests.
Site Selection and Setup
The location of your yurt has a significant impact on how easy it is to keep warm in winter. Proper siting can reduce heating costs and improve comfort. One of the most important factors is passive solar gain. In the Northern Hemisphere, orienting the yurt’s door and windows to the south allows you to capture the sun’s low winter rays. This free solar heat can warm the interior significantly during the day. As the That Yurt editorial team advises, ‘You want to get all the sunlight you can in the winter for passive solar gain, and you want, ideally, shade in the summer’ (That Yurt, 2024)[2]. This is a simple but effective strategy.
Landscaping can also help. Deciduous trees are ideal because they provide shade in the summer when they have leaves, but allow sunlight through in the winter after they have shed them. This natural cycle supports winter passive solar gain while providing summer shade (That Yurt, 2024)[2]. Additionally, choosing a site that is sheltered from prevailing winds can reduce heat loss. A location behind a hill, a line of evergreens, or a natural windbreak can make a noticeable difference in how much heat is lost through the yurt’s walls.
Finally, consider access. Winterized yurts that are used for glamping or as rental properties need to be accessible even in snowy conditions. This may mean plowing a path, providing a boardwalk, or ensuring that the parking area is close enough for guests to carry their gear without struggling through deep snow. For full-time residents, reliable access for firewood delivery and emergency vehicles is a must. A well-thought-out site plan makes winter living much more enjoyable and practical.
Important Questions About Winterized Yurts
What is the best type of insulation for a winterized yurt?
Can I use a regular space heater to heat a winterized yurt?
How do I prevent condensation inside a winterized yurt?
Is it possible to live in a yurt full-time during winter?
Comparison: Yurt Winterization Approaches
When preparing a yurt for winter, owners typically choose between two main approaches: a basic winterization for occasional use or a full winterization for full-time living. The choice depends on how often the yurt will be used, the local climate, and the budget. The table below outlines the key differences between these two strategies.
| Feature | Basic Winterization | Full Winterization |
|---|---|---|
| Floor Insulation | Rigid foam panels under plywood | Mineral wool between joists + foam + vapor barrier |
| Wall/Roof Insulation | Reflective bubble wrap or light batting | Manufacturer’s insulation package (thick quilted material) |
| Heating Source | Portable propane or electric heater | Wood stove with proper chimney |
| Moisture Control | Basic ventilation (opening a window) | Vapor barriers, dehumidifier, and active ventilation |
| Best For | Weekend trips and mild climates | Full-time living and harsh winters |
Practical Tips
Winterizing a yurt is a project that pays off in comfort and peace of mind. Here are some actionable tips to ensure your yurt is ready for the cold season.
- Start with the floor: The floor is the biggest source of heat loss. Insulate it well with a combination of rigid foam and mineral wool, and always include a vapor barrier. An elevated platform (10-18 inches) will also help keep the underside dry and reduce cold air infiltration.
- Seal all gaps: Check for drafts around the door, windows, and the base of the wall where it meets the platform. Use weatherstripping and caulk to seal any gaps. Even small leaks can let in a significant amount of cold air and increase your heating costs.
- Use a wood stove for best results: While other heating options exist, a wood stove is the most effective and reliable choice for a winterized yurt. It provides dry heat, helps with ventilation, and creates a cozy atmosphere. Make sure it is properly installed with a safe chimney that extends above the roof.
- Manage snow load: If you live in an area with heavy snowfall, you need to ensure your yurt’s frame can handle the weight. Many modern yurts are designed for snow loads, but it is important to check the manufacturer’s specifications. Regularly brushing snow off the roof can also prevent excessive weight buildup.
For more about Winterized yurts, see see how winterized yurts works.
Final Thoughts on Winterized Yurts
Creating a warm and livable winterized yurt is a rewarding project that opens up the possibility of year-round enjoyment of your unique space. From the initial choice of insulation to the daily management of heat and moisture, every step contributes to a comfortable and safe environment. Whether you are a glamping host looking to extend your season or an individual seeking an off-grid winter home, the principles outlined here will help you succeed. For more detailed information on yurt models and specific gear, be sure to explore our comprehensive yurt camping services.
Useful Resources
- Hotels a No-Go This Winter? Consider Yurt Camping!. Eagle Creek.
https://eaglecreek.com/blogs/articles/yurt-camping - Yurt Living in Winter – The Practical Aspects. That Yurt.
https://www.thatyurt.com/yurt-journal/yurt-living-winter-practical-aspects/