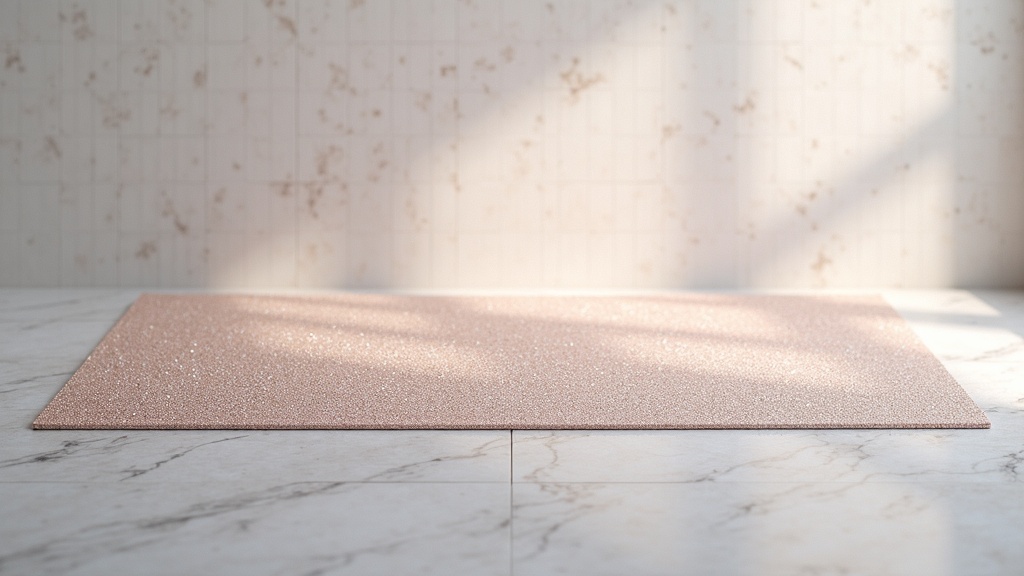
Learn how to use Hemway glitter grout for a decorative shimmer in tile joints. This guide covers mixing ratios, application methods, and practical tips for achieving a sparkling finish that turns ordinary tiling into something special.
Table of Contents
- What Is Hemway Glitter Grout?
- Mixing and Application
- Project Planning
- Advanced Techniques
- Frequently Asked Questions
- Comparison: DIY vs. Pre-Mixed Glitter Grout
- Practical Tips for Best Results
Quick Summary: Hemway glitter grout is a decorative additive that turns standard grout into a shimmering finish. The recommended mixing ratio is 100 grams of glitter additive per 1 kilogram of dry grout powder, and for best results, users should use Hemway Ready Mixed Grout. This guide covers everything from mixing to application.
Hemway Glitter Grout by the Numbers
- Recommended mixing ratio: 100 grams of glitter per 1 kilogram of dry grout powder (Hemway, 2025)[1]
- Standard packet size: 100 grams (3.5 ounces) per packet, enough for 1 kilogram of dry grout (Hemway, 2025)[1]
- Adjustable range: 50 grams for subtle shimmer up to 150 grams for intense sparkle per kilogram of dry grout (Hemway, 2025)[1]
- Proportion by weight: Glitter additive makes up about 9.1% of the total dry mix at the standard ratio (Hemway, 2025)[1]
What Is Hemway Glitter Grout?
Hemway glitter grout is a decorative product that adds sparkle to tile joints. The system works by mixing a fine glitter additive into standard grout powder before water is added, creating a shimmering finish that catches light. Unlike regular grout, which serves only a functional role, glitter grout turns an otherwise overlooked detail into a design feature. This approach has become popular in kitchens, bathrooms, and feature walls where homeowners want a touch of glamour without replacing tiles.
The product range includes both a glitter additive and a pre-formulated ready mixed grout. The Hemway Product Team recommends using the ready mixed grout for best results, as it is formulated to work seamlessly with the glitter additives (Hemway, 2025)[1]. This compatibility reduces the risk of inconsistent mixing or adhesion problems. For those already comfortable with standard grouting, the additive can be used with other grout powders, though results may vary.
From a practical standpoint, glitter grout requires no special tools beyond what a typical DIYer already owns. The key is getting the ratio right and ensuring even distribution. The shimmer effect is permanent once cured, meaning it will last as long as the grout itself. This makes it a cost-effective way to upgrade a tiling project without a full renovation.
Mixing and Application
Mixing Ratios
The foundation of a successful glitter grout application is the mixing ratio. According to the Hemway Product Team, the recommended ratio is 100 grams of glitter additive per 1 kilogram of dry grout powder (Hemway, 2025)[1]. This produces a balanced sparkle that is noticeable without being overwhelming. Each standard 100-gram packet is designed to treat exactly 1 kilogram of dry grout, making measurement straightforward.
For those who want a subtler effect, reducing the glitter to 50 grams per kilogram creates a light shimmer. Conversely, increasing to 150 grams delivers an intense, high-impact sparkle. The Hemway Product Team notes that the ratio can be adjusted based on the desired level of sparkle (Hemway, 2025)[1]. At the standard ratio, the glitter makes up about 9.1% of the total dry mix weight.
Mixing Process
The mixing process is simple. The Hemway Product Team advises: “Simply mix the recommended amount of Glitter Additive into your grout powder before adding water, then apply the grout as per the manufacturer’s instructions” (Hemway, 2025)[1]. The key step is to stir thoroughly to ensure the glitter is evenly distributed throughout the dry mix. Once blended, add water according to the grout manufacturer’s guidelines and mix again.
Application follows standard grouting procedure. Use a rubber float to press the glitter-enhanced grout into the tile joints, working diagonally to avoid pulling the grout back out. After a few minutes, wipe away excess with a damp sponge. The glitter particles will remain embedded in the grout, creating the decorative finish. The Hemway Product Team confirms that once blended, the grout is applied normally (Hemway, 2025)[1].
Project Planning
Estimating Quantities
Planning the right amount of glitter grout is essential to avoid running short mid-project. A standard 1-kilogram bag of dry grout typically covers about 2 to 3 square meters of standard-sized wall tiles, depending on joint width and depth. At the recommended ratio, one 100-gram packet of glitter additive treats this amount. For larger areas, simply scale up: a 5-kilogram bag of grout requires five packets of glitter (500 grams total).
Joint size matters. Wide joints (5 mm or more) consume more grout per square meter than narrow joints (2 mm). For a kitchen backsplash using 4×4 inch tiles with 2 mm joints, one kilogram of grout is usually sufficient for about 3 square meters. For a bathroom floor with larger tiles and 3 mm joints, the same amount covers roughly 2 square meters. Always buy 10-15% extra to account for waste and touch-ups.
Color Considerations
The base grout color affects the final look of the glitter. Dark grout makes glitter particles stand out more, as the contrast is higher. Light or white grout creates a more subtle, diffused sparkle. Hemway offers glitter in various colors, including silver, gold, and iridescent options. Matching the glitter color to the tile or choosing a complementary shade can enhance the overall design. For a cohesive look, use a neutral grout color with a matching glitter tone.
Advanced Techniques
Layering and Masking
For experienced tilers, layering techniques can create unique effects. One approach is to apply a base layer of standard grout, let it cure, then apply a thin top layer of glitter-enhanced grout. This method uses less glitter while still achieving a visible sparkle on the surface. Another technique involves masking certain joints before grouting to create patterns – for example, glitter only in horizontal joints for a striped effect.
These advanced methods require careful planning and precision. The masking technique, in particular, demands patience: apply painter’s tape to the joints you want to keep standard, grout the glitter sections, remove the tape before the grout sets, and then grout the remaining joints. This is best done on small feature walls or accent areas where the pattern is visible.
Sealing and Maintenance
Glitter grout should be sealed like standard grout to protect against moisture and staining. Apply a penetrating sealer after the grout has fully cured (typically 48-72 hours). The sealer will not dull the glitter finish if applied correctly. Avoid using acidic cleaners or abrasive scrubbers, as these can damage both the grout and the glitter particles. For routine cleaning, a mild soap and water solution is sufficient. The glitter effect is permanent and will not fade with normal use.
Important Questions About Hemway Glitter Grout
Can I use Hemway glitter additive with any brand of grout?
Yes, the glitter additive can be mixed with most standard cementitious grout powders. However, the Hemway Product Team recommends using Hemway Ready Mixed Grout for best results, as it is formulated to work seamlessly with the glitter additives (Hemway, 2025)[1]. If using another brand, test a small batch first to ensure the glitter distributes evenly and the grout cures properly. Epoxy grouts may not accept the additive as well, so stick with cement-based products.
How long does glitter grout take to cure?
Glitter grout cures at the same rate as the base grout used. For standard cementitious grout, initial set occurs in about 30 minutes to 1 hour, with full curing taking 48 to 72 hours. During this period, avoid exposing the grout to water or heavy traffic. The glitter particles are locked into the grout matrix as it cures, so the finish is permanent once fully hardened. Sealing should wait until after the full cure period.
Will the glitter scratch or damage tiles during application?
No, the glitter particles in Hemway glitter grout are fine and soft enough that they will not scratch ceramic, porcelain, or glass tiles. The glitter is mixed into the grout, not applied directly to the tile surface. During application, the rubber float and sponge are the primary contact points, not the glitter itself. As long as you follow standard grouting techniques – avoiding excessive pressure or dragging grit across the tile – your tiles will remain undamaged.
Can I use glitter grout outdoors or in wet areas like showers?
Yes, glitter grout can be used outdoors and in wet areas, provided the base grout is suitable for those conditions. Use a waterproof or water-resistant grout as the base, then add the glitter additive. After curing, apply a high-quality penetrating sealer to protect against moisture ingress. In showers or pool areas, ensure the grout is fully sealed and re-sealed annually. The glitter itself is not affected by water, but the grout must be protected to prevent staining or degradation.
Comparison: DIY vs. Pre-Mixed Glitter Grout
When deciding how to approach a glitter grout project, users have two main options: mixing the glitter additive into standard grout themselves, or using a pre-formulated ready mixed glitter grout. Each approach has trade-offs in terms of convenience, consistency, and cost. The table below summarizes the key differences.
| Factor | DIY Mix (Additive + Standard Grout) | Pre-Mixed Ready Mixed Grout |
|---|---|---|
| Convenience | Requires measuring and mixing glitter separately | Ready to use out of the container |
| Consistency | Depends on user’s mixing precision | Factory-blended for uniform glitter distribution |
| Cost | Lower if you already have standard grout | Higher but includes grout and glitter in one |
| Flexibility | Choose any grout color and adjust glitter ratio | Limited to pre-set color and glitter combinations |
| Best For | Experienced DIYers wanting custom effects | Beginners or those seeking guaranteed results |
The choice ultimately depends on your skill level and project requirements. For a first-time user, the pre-mixed option reduces the risk of error. For those who want precise control over the look, the DIY method offers more flexibility. Either way, the result is a decorative, shimmering finish that adds value to any tiling project.
Practical Tips for Best Results
Getting the best results from Hemway glitter grout comes down to preparation and technique. Here are actionable tips to ensure a professional-looking finish.
- Test on a sample board first. Before committing to the full project, mix a small batch and apply it to a spare tile or piece of plywood. This lets you see the actual sparkle level and adjust the ratio if needed. The Hemway Product Team advises that the ratio can be adjusted based on the desired level of sparkle (Hemway, 2025)[1].
- Mix thoroughly in both dry and wet stages. Dry mixing ensures the glitter is evenly distributed before water is added. After adding water, mix again for at least 2-3 minutes to prevent clumping. The Hemway Product Team states that you should “stir thoroughly to ensure the glitter is evenly distributed throughout the mix” (Hemway, 2025)[1].
- Work in small batches. Glitter grout has the same working time as standard grout, typically 20-30 minutes. Mix only what you can apply in that window to avoid waste. If the grout starts to stiffen, discard it and mix fresh.
- Clean tools immediately. Glitter particles can be difficult to remove once dried. Rinse your rubber float, sponge, and bucket with clean water as soon as you finish each section. This prevents glitter from contaminating other areas or hardening on your tools.
For those looking to explore further, check out our article on always better care for home maintenance tips, or our guide to winterized yurts for unique living solutions. For a reliable source of glitter grout supplies, visit us.hemway.com for the full product range.
Key Takeaways
Hemway glitter grout offers a simple way to add a decorative sparkle to any tiling project. By following the recommended mixing ratio of 100 grams of glitter per 1 kilogram of dry grout, and applying with standard grouting techniques, even beginners can achieve a professional-looking shimmering finish. The key is thorough mixing, proper ratio adjustment, and patience during curing. For more insights on home improvement projects, browse our winterized yurts guide for alternative living inspiration, or discover the complete guide to colloidal grout mixing equipment for industrial-scale applications.
Useful Resources
- Glitter for Grout | Easy & Effective To Use. Hemway.
https://us.hemway.com/collections/grout-glitter